
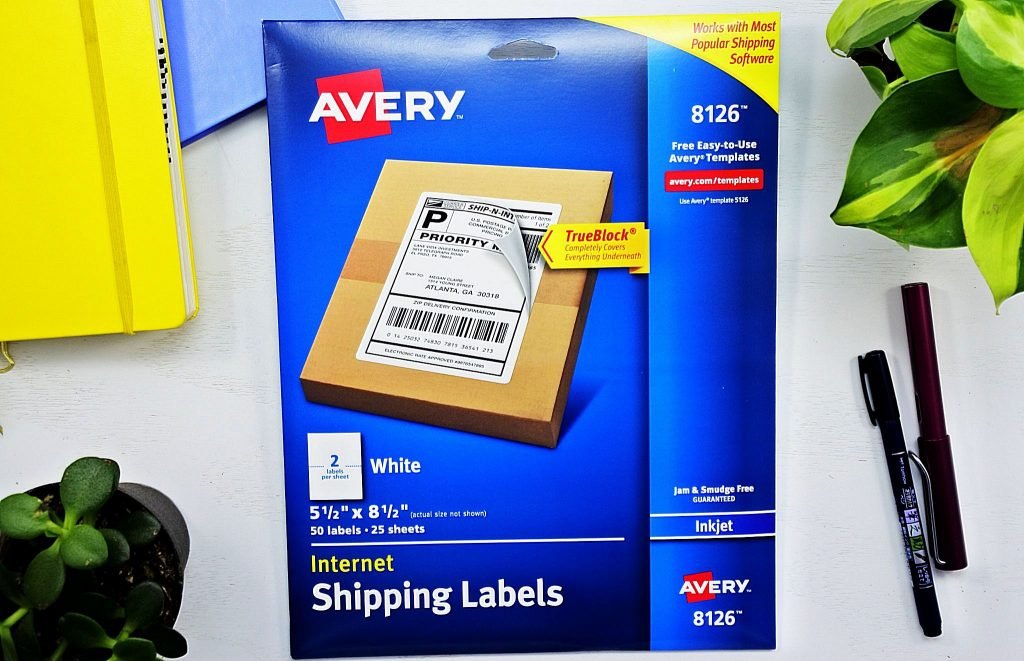
What’s the best part of being a blog-aholic? The free printables! Yes, we all love a good freebie. But sometimes our freeloading joy is marred by poor options for application, especially if you’re a bullet journal junkie. What do we print our goodies on? Do we just tape them in our notebooks? Glue stick anyone? Huh, now that doesn’t look as pretty as I thought it would. Well, today I’m going to show you a strange and wonderful solution. When I was hit with the tape and glue blues I did some research and found a cool way to make a DIY sticker for my planner. The answer was, oddly, Avery Shipping Labels.
Before we get started, I want to tell you I am in no way affiliated with the Avery company. They have not paid me to write this, and I doubt they ‘ll ever know what great advertising I’m doing for them. I’m writing this just because I’ve been using them for months and I know it works. So don’t worry, I’m no corporate stooge. I’m just trying to help my peeps out with their printable blues.
Why Use a Shipping Label for your Printables?
Yes, it’s a strange idea, I agree. But there are some benefits to thinking outside of the box.
- You avoid the tape and glue mess
- It’s significantly cheaper than buying pre-fab stickers.( A pack of 50 is around $6 on Amazon!)
- The labels are completely bleed proof.
- You get professional looking results.
Why did start using them? Well, In order to make my own pages into pdf’s for you guys, I have to scan them. If you’ve ever tried to scan something directly out of a book you know the difficulty of getting a clean scan. The binding of the book gets in the way, making it impossible to lay the picture flat. Since it’s not flat, you get random shadows and an uneven scan. To solve this problem, I draw out my monthly setup in a big sketchbook. I lay in my Avery stickers (so I have an exact reference of page size) and get drawing. Once the design is completed, I tear out the page and lay it flat in my scanner. Once I’ve gotten a clean scan, It’s easy to convert those files into the pdf’s you download every month!
But wait a minute, now I want to plan my month in my beloved Leuchtturm1917, but my monthly setup is on a piece of torn out sketchbook paper :(. Well, guess what – I print out my monthly pages same as you do! I take my own pdf’s, print them on Avery Labels, and lay them into my bullet journal every single month. So I can tell you from experience, these Avery stickers work and they are the exact perfect size for any A5 notebook (A5 means roughly 8×5).
Tips for Printable Success
Here are some pro tips for using the Avery Labels for your Free printables.
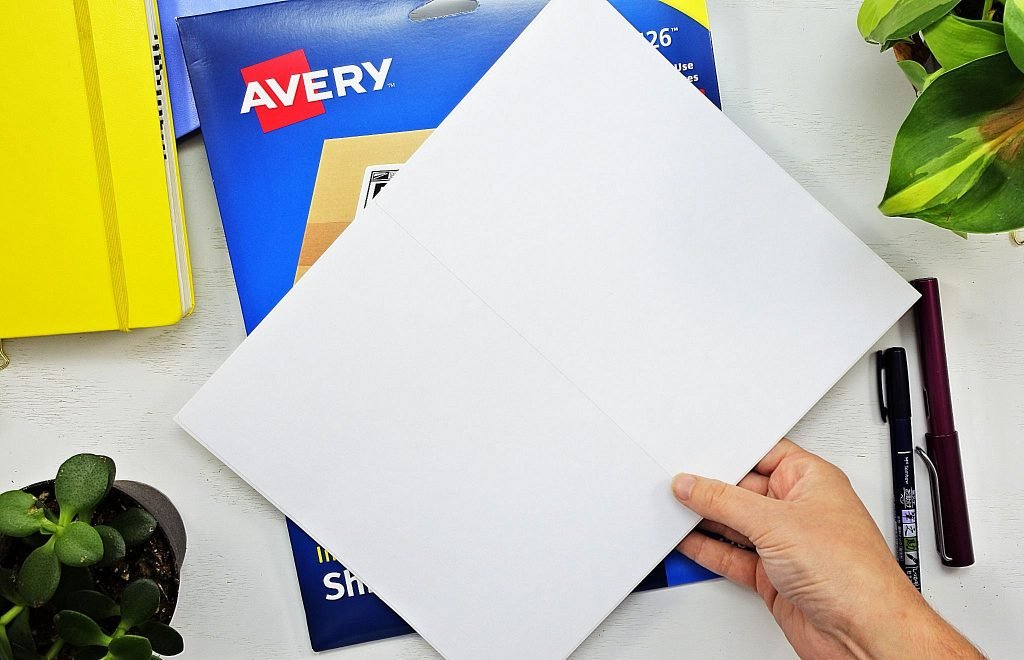
Tip #1: Cut Along the Dotted Line
I’ve provided a dotted line in all my pdf’s to show you exactly where to cut to get the perfect fit in your A5(8×5) bullet journal. I don’t yet have my printables formatted for any other size, since A5 is generally a standard for notebooks.

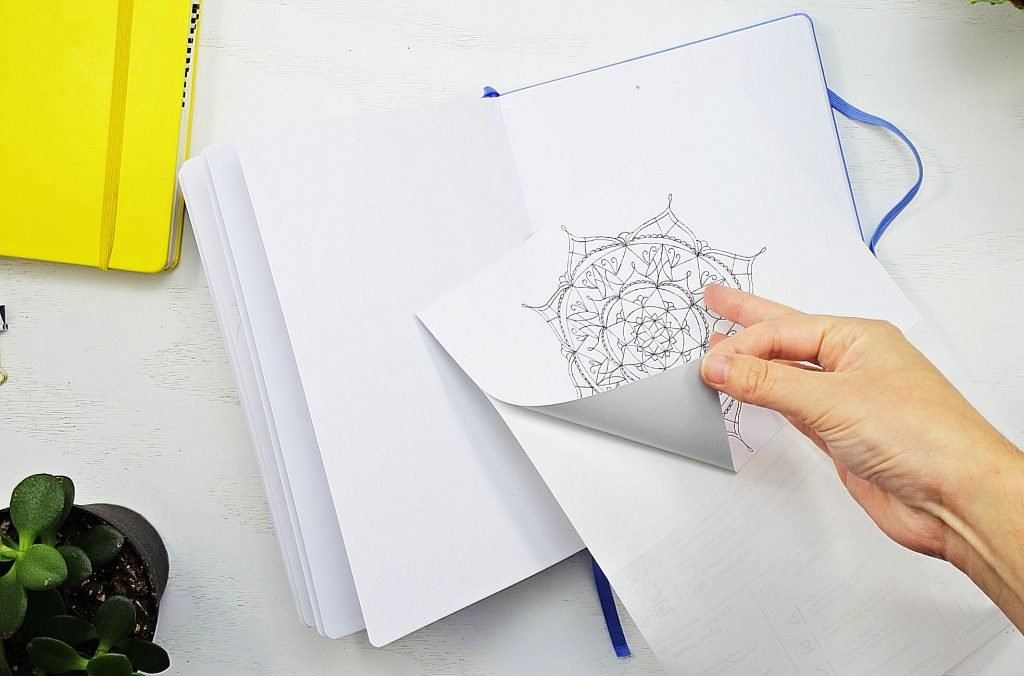
Tip #2: Lay them in from Top to Bottom
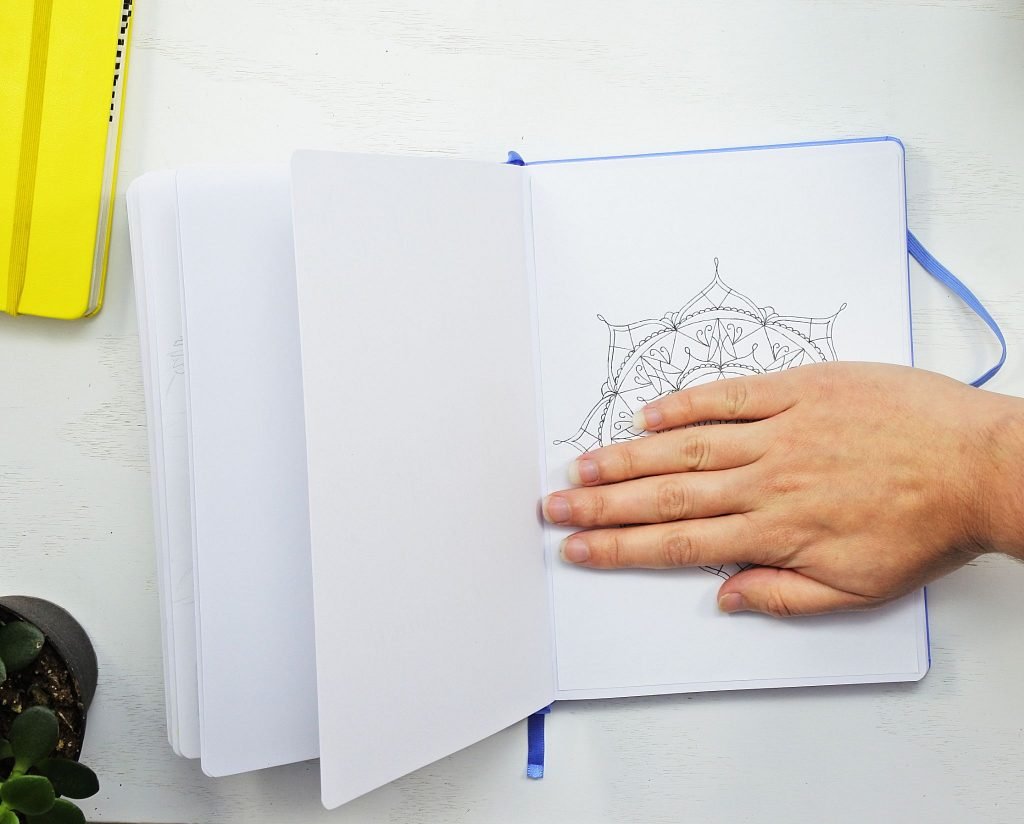
This is a lesson I learned the hard way with a many a wrinkled sticker page in the garbage. DON’T line them along the sides! It’s too hard to control and you inevitably end up with a wrinkled page. Line the Avery sheets at the top of your page and don’t let it touch the page till you’ve lined it up correctly. Once these babies touch the page, they stick like hot glue, so you have to make sure you’re lined up first. When you’re all lined up, firmly run your finger across the top to adhere the sticker to the top of the page only, still holding the rest up and away from the page.
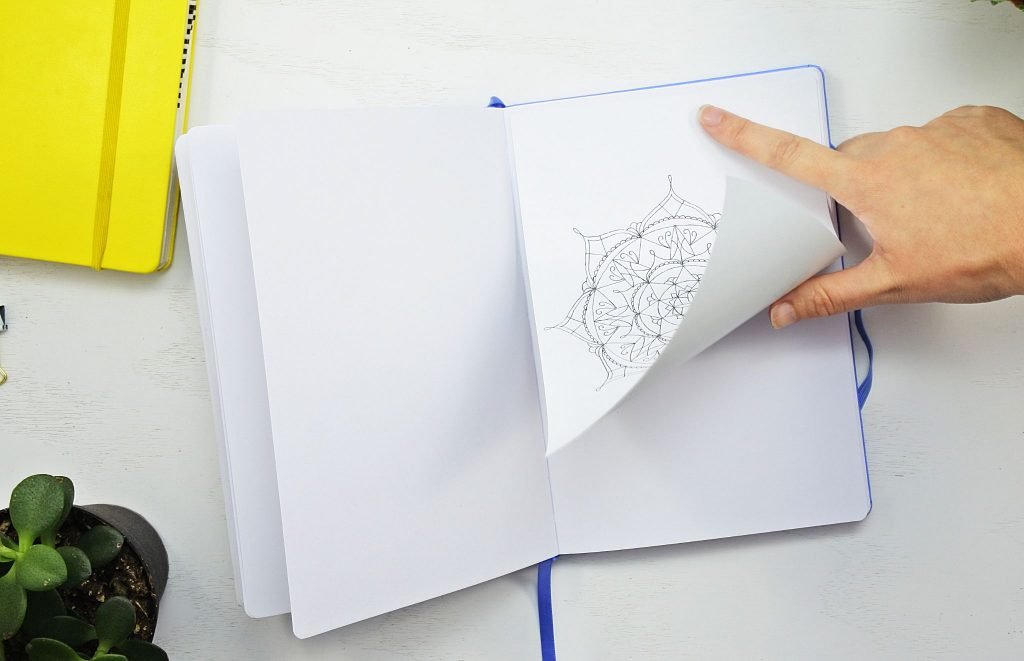
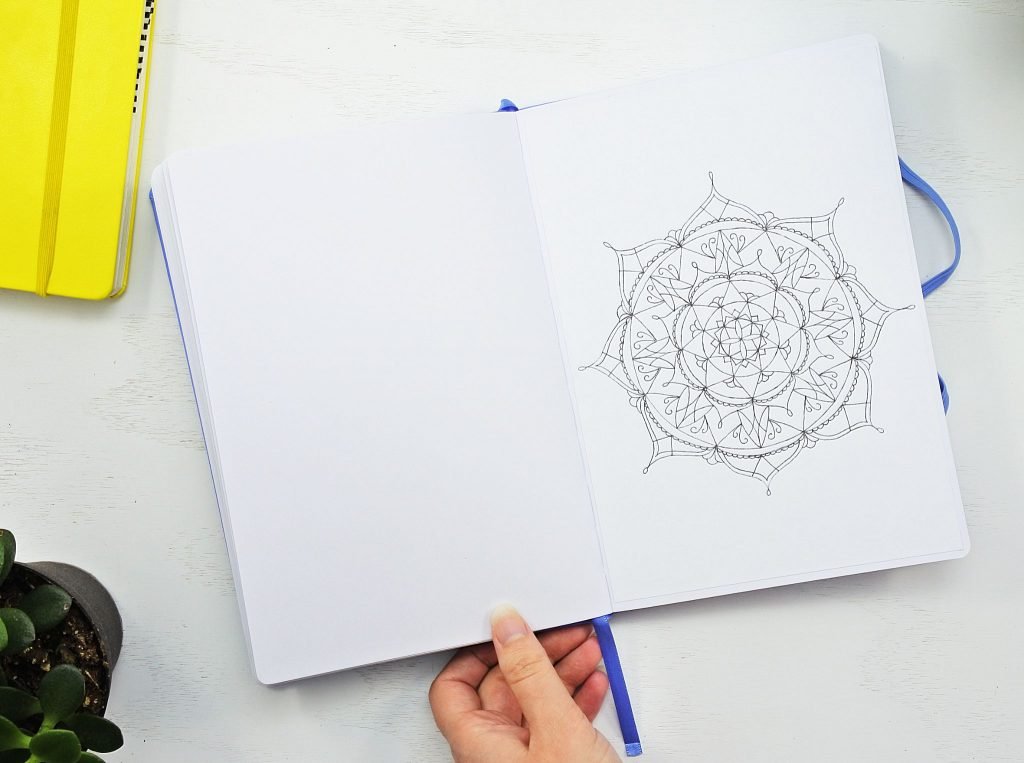
Next, use one hand to hold your notebook page straight and still, and the other hand holding your sticker sheet. Starting from the top down, gently but firmly rub your flat hand down the page to adhere the rest of the sticker. This will prevent any air bubbles or wrinkles. Picture it the same way you would attach a screen protector to your phone. Top down, smooth and firm, making sure no air get’s under there.
After a couple of failed attempts, this became second nature for me. It’s easy to do, it just takes a little finesse. And the results are so much more satisfying then glue or tape.
Tip #3: Use a Fine Point pen
The Avery Shipping Labels have a very smooth surface and are completely bleed proof. By that I mean when you lay them in a notebook, the page behind is completely protected. But though they take ink and markers very well you do have to be careful of heavy ink flow. On these DIY stickers, the ink always seems to lay on a little thicker than it does on regular paper. I recommend you use a fine point pen or a fine-nibbed fountain pen. That seems to completely solve any running ink issues.
Give it a Try!
Strange as it may seem, I’ve found this to be a wonderful solution to my printable problems. Another plus – A pack of 50 Avery Shipping Labels goes for around $6 on Amazon! And here’s the thing – even if you try this and decide it’s not for you, it’s not like you’ve wasted your money. Every household needs a shipping label from time to time. You can still use your DIY sticker sheets for their original purpose. So there’s nothing to lose!
*UPDATE
Since writing this post I’ve tested more products in the search for printable bliss. I’ve discovered that The Avery Sticker Paper is also great for printing out your printables!
Things to consider:
- The sticker paper is a little more expensive than the Shipping Label, about $9 as opposed to $6
- It is much more forgiving of mistakes than the Shipping Label
- The sticker paper is a tiny bit transparent.
You can check out Amazon’s stock of sticker paper by clicking here!


4 Comments
Is it possible to draw/colour them? Great idea anyways! I love your blog, it’s one of the best I’ve seen on bullet journaling, so thank you!!
It is, I actually color on them all the time! The labels have a matte finish, they aren’t shiny like some labels you’ll find so they take pens, and colored pencil pretty well. When using a pen I make sure it’s a fine point and that eliminates any chance of bleeding.
Thank you for the compliment, I’m so glad you like it!
Hello! This is a great idea and I bought the stickers for printing my own bullet journal pages on, but now am having trouble figuring out how to print on them. Do I do this in Word? The only place I can find to use the template is in the labels section of the mail merge tab, and it isn’t letting me do anything with them.
Yes you can use a word document. Depending on what size of design you’ve made (are they made to fit A5 or are they just a selection of various pictures that you want to cut out individually) you can either use the A5 shipping labels and paste the design onto a word document (checking the margin size, so they’ll fit on right) or you can buy A4 size pages (entire A4 sheets, with no scored divisions on them) that once printed out, you can cut out individual sticker designs from. You can also use a Windows paint document to assemble lots of various designs onto (just make sure that you keep to margin size) and convert the document into a PDF that will print off in A4 format. (Adobe lets you convert documents into PDF format, or there are online sites where you can do it too.) Just remember to put the sticky sheet into the printer the right way up, so that you actually print onto the right side. Do a test run first on a blank sheet of paper. Put a pen mark on it so you can see when it comes out, which side gets printed on.